Saturday, May 31, 2014

Rosemary Lemon Pepper Fried Chicken

Now that the summer is upon us, I have reclaimed my weekends for cooking and excessive nap time! Hooray! I am full of new recipes and kitchen ideas, so let's get started! 

Having been raised and fed in Georgia, I enjoyed my share of crispy, fried deliciousness that makes the mouth sing praises unto the bubbling oil. Yes, frying (especially frying meat) is definitely an art that until recently, I had not mastered. 


Watching my mother drop a piece of breaded tilapia or chicken into a hot pan and jump four feet away from the scalding, airborne oil was not a treasured sight for me as a child. Humorous, but certainly not treasured. I am ashamed to say that my role in helping my mother fry food ended shortly after breading the meat. 


Fortunately, those dark days are over! Motivated by some good-natured teasing from friends and family, I have finally dared to fry my first piece of meat! Though I will never be able to add this particular skill to a resume (if I can, then my career plans have taken an awkward turn Oo), I am delighted to share my simple, but flavorful, panko fried chicken recipe with you all. 


WHAT YOU NEED

2 teaspoons lemon pepper
2 teaspoons dried rosemary
2 cups panko bread crumbs (I prefer honey infused panko)
Crushed red pepper to taste
Salt to taste
2 eggs
1/4 cup milk
4 boneless, skinless, chicken breasts 
Olive oil

Heat oil in frying pan on medium heat. In a large bowl, combine, panko, lemon pepper, rosemary, and crushed red pepper. Taste your seasoned panko before adding salt as some prepared lemon pepper mixtures tend to be on the salty side. In a small bowl, crack and lightly beat your eggs with milk. 

Dredge your chicken breasts with the egg and coat them in the seasoned panko. For a crispier (and therefore, more delicious) crust, coat the chicken in the egg mixture and seasoned panko one more time before frying.

Now the fun part! Gently place your chicken breasts in the pan and step far away from the popping oil. Cook your chicken for 4-5 minutes on each side (or until golden brown and no longer pink on the inside). 

Remove crispy chicken to a plate coated in paper towels and allow the paper towels to soak up the excess oil. You'll be left with bright, aromatic, crispy, juicy chicken! Delicious over pasta or salad. Serve and thoroughly enjoy! 


What else is on the plate, you ask? A bed of lemon-mushroom pasta with basil and romano cheese served with a salad of chopped tricolor peppers dressed in a little olive oil and red wine vinegar. Garnished with a big, beautiful, basil leaf.


Monday, February 10, 2014

Spicy Chocolate Chip Cookies


Have you ever seen the movie Like Water for Chocolate (Como Agua Para Chocolate)? It's one of my favorite films. The basic concept is that when people eat food prepared by the woman in the movie, they experience whatever emotions she was feeling when she cooked the dish. Passion. Sadness. Joy. Anger. You get the picture.


That said, it's hard to be in any mood other than adventurous when I make these cookies. They are by far my favorite recipe as I've added ingredients and adjusted the measurements over time to create a truly spicy cookie. Ready to go on an adventure?


WHAT YOU NEED

2 1/4 cups all-purpose flour
1 teaspoon baking soda
2 teaspoons cayenne pepper (reduce or increase depending on your taste)
2 teaspoons ground cinnamon
1 teaspoon salt
1 cup (2 sticks) butter, softened
3/4 cup granulated sugar 
3/4 cup packed brown sugar
1 teaspoon vanilla extract
2 large eggs
2 cups semi-sweet chocolate morsels

Preheat your oven to 375° F. Combine flour, baking soda, cayenne pepper, cinnamon, and salt in small bowl. Beat butter, granulated sugar, brown sugar and vanilla extract in large mixer bowl until creamy. Add eggs, one at a time and beat well. Gradually beat in flour mixture. Stir in morsels.

Roll dough into 1 inch balls onto un-greased baking sheets. BAKE for 9 to 11 minutes or until golden brown. Cool on baking sheets for 2 minutes. Enjoy!


Sunday, January 5, 2014

Winter Chai Tea


Seasons greetings people! If you’re somewhere cold, I hope that you’re enjoying the warmth of a thick blanket and some hot cocoa. If you’re like me though, the hot cocoa can get pretty tiring after a while. My favorite cold weather drink is chai tea. Spicy. Warm. Creamy. Perfect. My best friend’s mother introduced me to homemade chai tea on New Year’s Day a few years ago. I still toss and turn at night over the perfection that my taste buds encountered on that fateful night. I put my own twist on her recipe to get a spicier tea. 

WHAT YOU NEED (Yields 2 1/2 cups):
12 cardamom pods, crushed
12 cloves
1 tablespoon chopped ginger
2 cinnamon stick
2 cups hot water
2 tablespoons black tea
2/3 cup of milk
Sugar, to taste


Steep cardamom, cloves, ginger, cinnamon stick, and water for 12 minutes on medium heat, stirring occasionally. Turn down your stove to low heat and add black tea. Steep until boiling, stirring occasionally. At this point, your tea will be extremely bitter, but the milk will balance that out. Stir in milk and sugar to taste. Steep for 1-2 minutes, allowing the milk to warm up. Strain and pour into your fanciest tea cup. 

A warm, spice-rich cup of chai tea to keep you warm this coming winter. Add a spiral of whip cream and a dash of cinnamon on top for a cozier experience. Enjoy with someone special :).

Sunday, December 1, 2013

Parmesan Cream Cheese Dip: Thanksgiving Edition!

I hope that you are all in good health and high spirits! I fled Baltimore this week to spend time with my awesome family and fiance, Travis, in Atlanta. Travis and I are both devoted foodies.. well, foodies in the sense that I cook and he eats. Our favorite moments spent together are buying ingredients for recipes and eating the final product while we watch some ridiculous tv show. As this week was Thanksgiving, we decided to whip up one of our favorite appetizers for the family to eat while waiting for the other food to finish cooking. This is a recipe that I tried a few years ago (original recipe), but we have since added ingredients to create a richer flavor for the holidays.


WHAT YOU NEED: 
1 1/2 cups milk 
1 1/2 cups grated Parmesan cheese 
1/2 cup dried Romano Parmesan cheese 
16 ozs cream cheese (cubed) 
2 tsp minced garlic 
1/2 cup of chopped green onion
cracked black pepper to taste 
1 large loaf of sourdough bread (cubed) 
1 circular loaf of bread to act as a serving dish (optional) 

Cut out a large circle in the center of your circular sourdough loaf. Remove additional bread from it as necessary in order to create a bread bowl. Set aside.

Under medium heat, stir the milk and grated Parmesan and Romano until melted in the pot. Gradually add the cubed cream cheese, garlic, green onions, and bacon bits. Stir until smooth. Allow the ingredients to cook together for about 7-10 minutes on simmer, stirring occasionally. Chill the mixture in the fridge for at least 1-2 hours or until cool. Pour the mixture into the hollowed out bread bowl. Garnish the sides of the bowl with the green peppers and tomatoes. Dice your other loaf of sourdough bread and serve. Don't be afraid to eat veggies or other varieties of bread with this dip! 
We didn't use the bread bowl this time around. I'll update the picture at a later date with a fancy bread bowl :)

Enjoy the wonderful Thanksgiving weekend and I'll see you next week!


Tuesday, November 5, 2013

Cinnamon Cupcakes with Ginger Frosting


Happy November! This week I wanted to try my hand at baking cupcakes. I've actually never made them before. I think I've always believed that cupcakes are like playing with dolls - the older you get, the more childish they seem. Saturated in frosting, too much sugar in the batter, etc. In my mind, I equate cupcakes with hyper children like Honey Boo-Boo and that's a huge deal breaker for me. Cake and pie - now that's grown folk food! However, in light of the growing designer cupcake trend and cupcake competitions, I figured I'd give it a try. 


In honor of November, I wanted to put a few of my favorite fall spices together; cinnamon, ginger, and cayenne pepper. I used the ginger and cayenne to give the cupcakes a spicy kick. 


WHAT YOU NEED (yields approx. 12 cupcakes, 24 mini-cupcakes)

2 cups flour 
2 teaspoons baking powder 
1/2 teaspoon salt 
1/2 cup butter, softened 
3/4 cup sugar (if you like your cupcakes very sweet, add a little more.) 
2 eggs 
1 cup milk 
2 teaspoon vanilla extract 
1 1/2 teaspoon cinnamon

Frosting:

1-2 containers of buttercream frosting (easy! or you can make your own using Quick Vanilla Buttercream Frosting recipe)
2 teaspoon ginger

Preheat your oven to 375 degrees. Line muffin cups with paper liners for the cupcakes (I bought some cute fall ones from Walmart for about $2). In a large bowl, cream the butter and sugar until blended. Beat in the eggs one at a time. In a separate medium-sized bowl, mix flour, baking powder, and salt. Alternate stirring the flour mixture and milk into the butter-sugar mixture, making sure its evenly blended. Stir in your vanilla extract and cinnamon. Bake in the oven for 18-20 minutes. 


BUTTERCREAM TIME

While the cupcakes are rising, blend your buttercream with the ginger. Scoop the mixture into a large zip-lock bag. Cut a small hole at one of the ends of the bag to use as a frosting applicator. :) BE CREATIVE! Swirls, roses, etc! You may want to refrigerate the frosting in the bag for about 30 minutes so the frosting will be a little stiffer. After your cupcakes have had time to cool, apply and ENJOY!


Thursday, October 24, 2013

Parmesan-Basil Encrusted Swai

It's been a while! I hope that you kids are doing well. Once again, things have been pretty hectic. Papers, homework, and studying for exams has consumed my life :/. I haven't had a lot of time to cook anything new lately. Actually, I've been eating out so frequently that one of the security guards at my apartment has dubbed me "The Jimmy Johns Girl." =_=. First of all, I feel like she could have been way more creative with the nickname. I think that she just nicknamed me the thing that I happened to have that day. My overwhelming desire to go back to my given name was what prompted me to cook tonight. 

This recipe is really simple. Swai has a very mild flavor - not fishy at all like tilapia, so it takes well to lots of herbs and spices. Personally, I like softer fish so I tend to bake my swai. However, it can be breaded, fried, grilled, you name it! Experiment! This recipe has a peppery, creamy, sweet herbaceous taste to it. Here we go!


WHAT YOU NEED

4-5 large pieces of swai
1/2 cup grated Parmesan or Romano cheese (you know, the "shaky cheese")
1 1/2 teaspoon paprika
1/2 teaspoon dried basil
1/2 teaspoon cracked black pepper
1/4 teaspoon salt or to taste
Extra Virgin Olive Oil (for drizzling)


Preheat your oven to 400 degrees. Mix your parmesan, paprika, basil, cracked black pepper, and salt together. Feel free to taste the mixture before applying to the swai - this will allow you to make sure the mixture has a good balance of salt and pepper for your own taste.


 Drizzle olive oil over the top of your fish (you may want to rub it on the fish for a more even coating). Take each piece of swai and encrust the top of the fish with the mixture. Cover a 13-by-9-inch pan (whatever size works of you) with a piece of tin foil. Spray the tin foil with canola oil spray or coat with butter. 


Place the swai on the pan and bake for 20-25 minutes, until the swai coating is golden brown and fish is flaky. A
nd just like that, you're done! Enjoy!


Monday, October 7, 2013

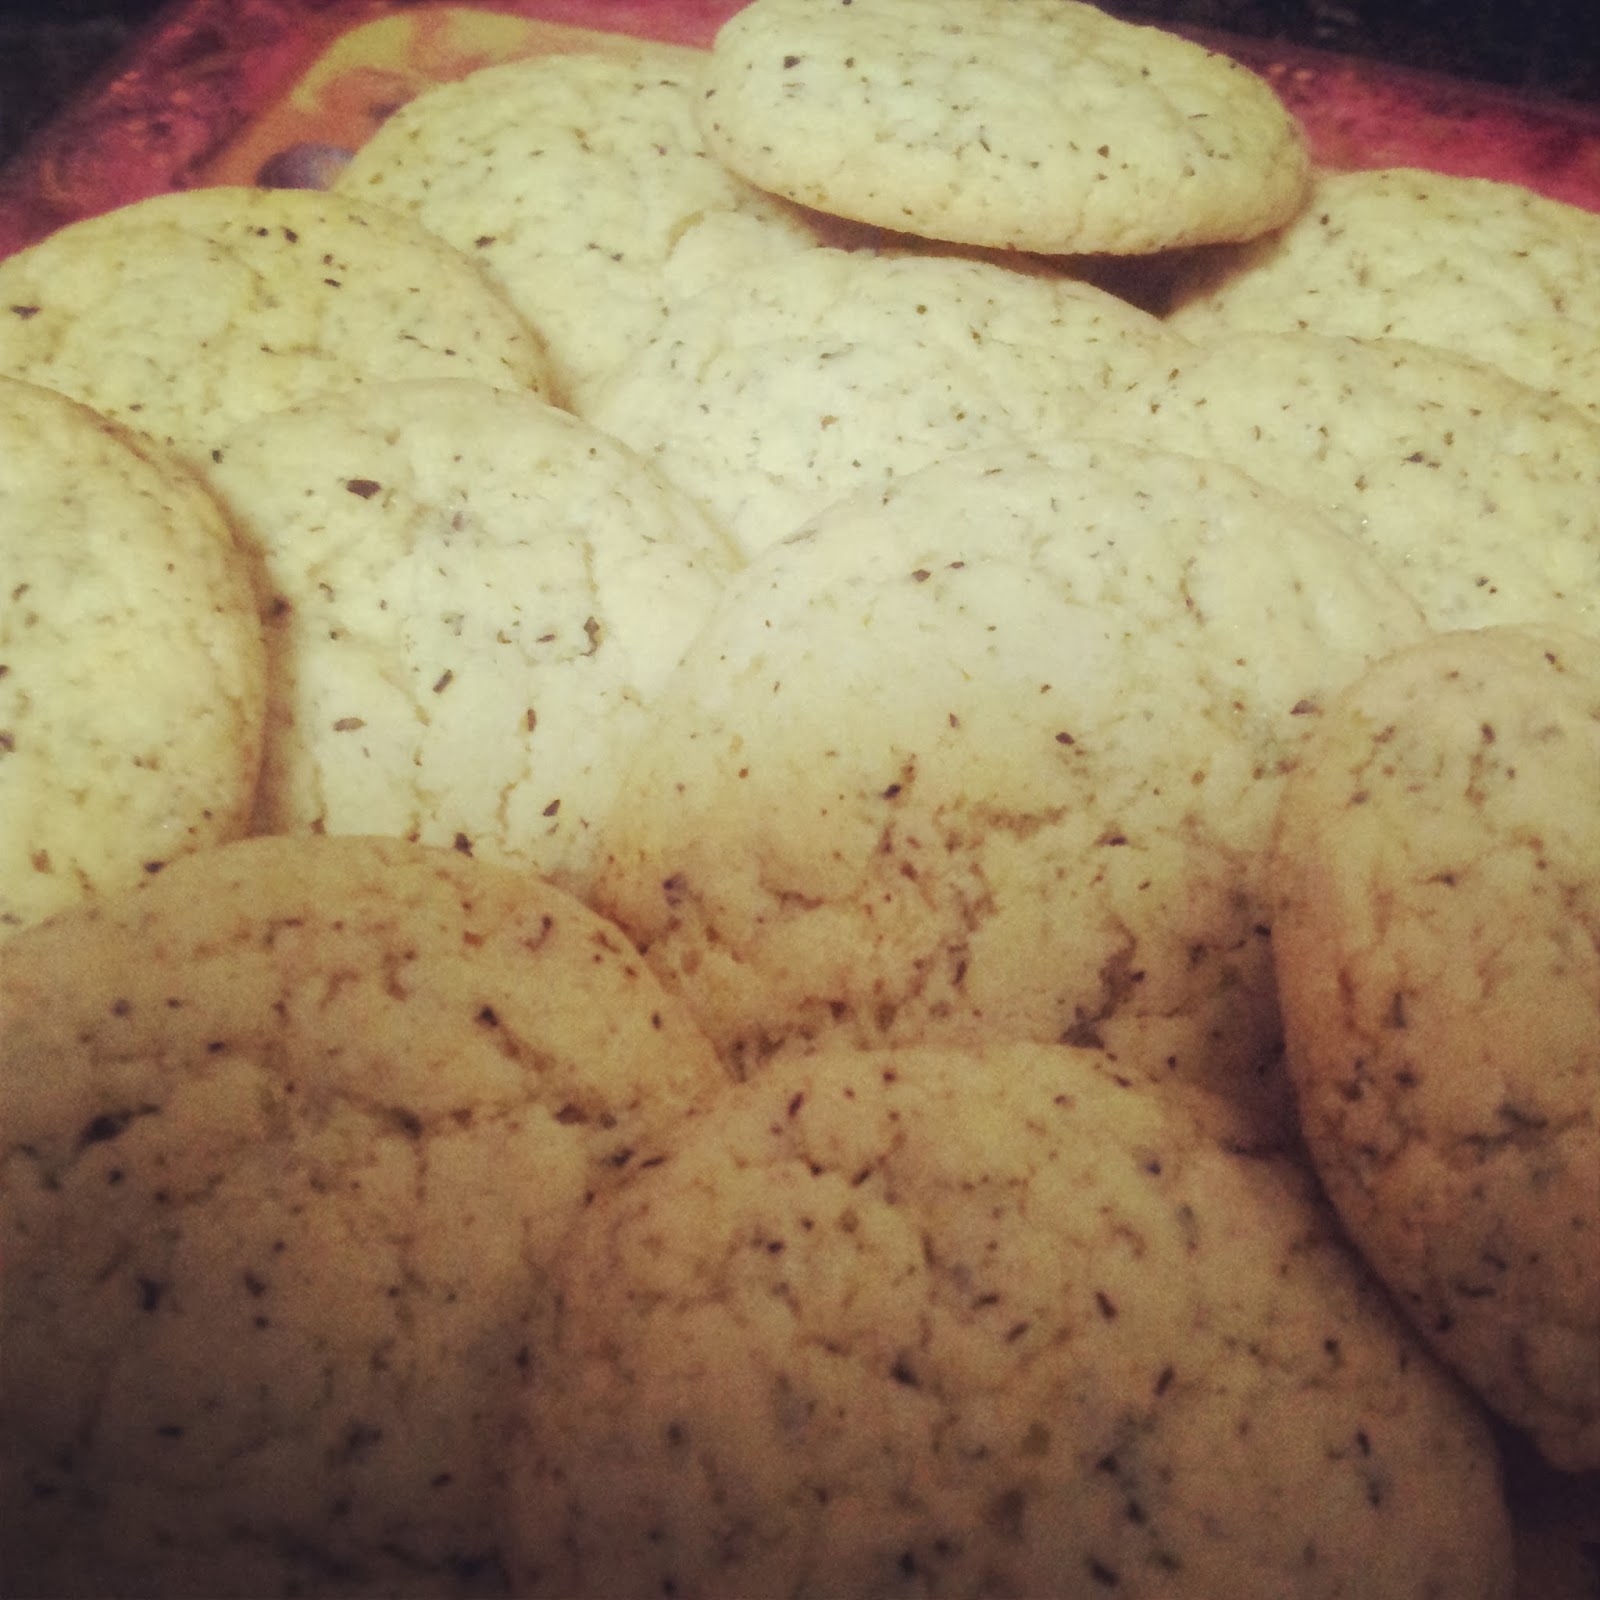
Earl Grey Tea Cookies

Good day to you all! I hope that you had a fantastic weekend! I know I did! It's truly rewarding when you can find a few moments to not only relax, but to try out some new recipes. This past weekend, I had a craving for cookies and tea, so I decided to combine the two. I love earl grey tea - It's probably the fanciest thing that I drink. I like to pull out my monocle, handle bar mustache, and top hat when I drink it (if only :/). It's the smooth taste of bergamot and citrus oils that makes my weekends so special. Earl grey just adds a new level of richness to sugar cookies. Anyway, cookies!

.

WHAT YOU NEED:
2 3/4 cups all-purpose flour
1 teaspoon baking soda
1/2 teaspoon baking powder
1 cup butter or margarine, softened
1 1/2 cups white sugar
1 egg
1 teaspoon vanilla extract
2 tablespoons Earl Grey tea leaves, fine (or 6 tea bags full)


Preheat oven to 375 degrees F (190 degrees C).  In a small bowl, stir together flour, baking soda, and baking powder. Set aside.

In a larger bowl, cream the butter and sugar together until smooth. Beat in the egg, vanilla, and tea leaves. Gradually blend the dry ingredients into the butter-sugar mixture. Roll rounded tablespoons of dough into balls, and place onto un-greased cookie sheets. 
Bake 12-15 minutes or until golden brown. Let stand on cookie sheet for two minutes before serving. Enjoy with milk or a cup of earl grey tea!

I hope that you have a wonderful weekend and try to find some time to be fancy :)!